Multi-Account Support in Mutt With iocage
Introduction
Since I’m running Haswell on my HardenedBSD development laptop, I have to use the VESA driver, which takes up a considerable amount of CPU. I previously ran KDE4 but have recently switched to i3wm. I still relied on kmail, though, since it supported multiple accounts with multiple GPG keys. In order to save precious CPU and RAM, I wanted to switch to mutt. I already knew that its multi-account, multi-gpg key support really sucks, so I devised a plan to use jails.
A few years ago, I toyed with ZFS, jails, and VIMAGE (which I’ll call vnet) to give me a cloud-like infrastructure. The problem is that integrating all the pieces together is kind of a headache. Lots of commands to run in a specific order. Back then, I created a Drupal module to help with that. I’ve since abandoned that project and am now using iocage.
Networking
Networking is pretty straight-forward. I have two bridges, bridge0 for bhyve and bridge1 for iocage. I NAT both bridges. Since I often switch between wired, wireless, and tethering over usb, my pf.conf looks a bit weird:
scrub in all
scrub out random-id

nat on re0 from 192.168.6.0/24 to any -> (re0)
nat on wlan0 from 192.168.6.0/24 to any -> (wlan0)
nat on ue0 from 192.168.6.0/24 to any -> (ue0)

nat on re0 from 192.168.7.0/24 to any -> (re0)
nat on wlan0 from 192.168.7.0/24 to any -> (wlan0)
nat on ue0 from 192.168.7.0/24 to any -> (ue0)

pass in all
pass out all
bridge0 is 192.168.6.0/24 and bridge1 is 192.168.7.0/24. I only care
about bridge1 in this article. bridge1, is given an IP of
192.168.7.1 via /etc/rc.conf:
cloned_interfaces="bridge1"
ifconfig_bridge1="inet 192.168.7.1 netmask 255.255.255.0 up"
Networking is now complete and we can move on to iocage.
iocage configuration
The version of iocage that’s in the ports tree doesn’t support using
an existing 11-CURRENT build and the -e flag is broken with the
create verb. I had to fetch the sources from GitHub and install a
bleeding-edge version of iocage from there. This version still doesn’t
technically support using an existing 11-CURRENT build. But at least
the -e flag worked.
It look me a little while to figure out, but iocage will create a new heirarchy of zfs datasets. The dataset for your jail isn’t the name of the jail, but rather the UUID iocage has assigned to that jail. As you can see, I have three jails, each with their own UUID:
$ iocage list
JID   UUID                                  BOOT  STATE  TAG
1     30e0a05d-59c1-11e5-974d-f0761c1c06ec  on    up     mutt-hardenedbsd
2     40f606a3-5aeb-11e5-a275-f0761c1c06ec  on    up     mutt-g2
3     c69915d5-58ad-11e5-8955-f0761c1c06ec  on    up     mutt-lattera_at_gmail
$ zfs list -r rpool/iocage
NAME                                                           USED  AVAIL  REFER  MOUNTPOINT
rpool/iocage                                                  3.58G   358G   112K  /iocage
rpool/iocage/.defaults                                          96K   358G    96K  /iocage/.defaults
rpool/iocage/download                                           96K   358G    96K  /iocage/download
rpool/iocage/jails                                            3.58G   358G   104K  /iocage/jails
rpool/iocage/jails/30e0a05d-59c1-11e5-974d-f0761c1c06ec        743M   358G    96K  /iocage/jails/30e0a05d-59c1-11e5-974d-f0761c1c06ec
rpool/iocage/jails/30e0a05d-59c1-11e5-974d-f0761c1c06ec/root   743M   358G  1.44G  /iocage/jails/30e0a05d-59c1-11e5-974d-f0761c1c06ec/root
rpool/iocage/jails/40f606a3-5aeb-11e5-a275-f0761c1c06ec        292M   358G    96K  /iocage/jails/40f606a3-5aeb-11e5-a275-f0761c1c06ec
rpool/iocage/jails/40f606a3-5aeb-11e5-a275-f0761c1c06ec/root   292M   358G  1.00G  /iocage/jails/40f606a3-5aeb-11e5-a275-f0761c1c06ec/root
rpool/iocage/jails/c69915d5-58ad-11e5-8955-f0761c1c06ec       2.57G   358G    96K  /iocage/jails/c69915d5-58ad-11e5-8955-f0761c1c06ec
rpool/iocage/jails/c69915d5-58ad-11e5-8955-f0761c1c06ec/root  2.57G   358G  2.55G  /iocage/jails/c69915d5-58ad-11e5-8955-f0761c1c06ec/root
rpool/iocage/log                                               116K   358G   116K  /iocage/log
rpool/iocage/releases                                           96K   358G    96K  /iocage/releases
I installed and configured the mutt-lattera_at_gmail jail first. So
I did a basic full-jail install into
/iocage/jails/30e0a05d-59c1-11e5-974d-f0761c1c06ec/root by running
these commands:
# iocage create -e tag=mutt-lattera_at_gmail defaultrouter=192.168.7.1 ip4_addr="vnet1|192.168.7.2/24"
# cd /usr/src
# make installworld distribution \
    DESTDIR=/iocage/jails/30e0a05d-59c1-11e5-974d-f0761c1c06ec/root
Please note that the iocage create command will automatically
generate the UUID, so your UUID will look different.
I then had to create an empty fstab file for it:
# touch \
    /iocage/jails/30e0a05d-59c1-11e5-974d-f0761c1c06ec/fstab
The jail is now ready to start up. Boot it up with iocage start mutt-lattera_at_gmail.
You can get to the jail’s console by typing iocage console mutt-lattera_at_gmail.
Once I was in the console, I added a user account and set up the jail as I normally would. I installed mutt, gnupg, vim-lite, and a few other packages. I copied my GPG key over and set up offlineimap, since mutt’s imap support isn’t the best. I also set up sshd so that I could ssh in from the host.
Once I had this jail fully set up to my liking, I simply cloned it to create a new iocage jail. Doing it that way saved me time in getting everything set up again. You can clone the jail by running something similar to:
# iocage clone mutt-lattera_at_gmail tag=mutt-hardenedbsd defaultrouter=192.168.7.1 ip4_addr="vnet1|192.168.7.4/24"
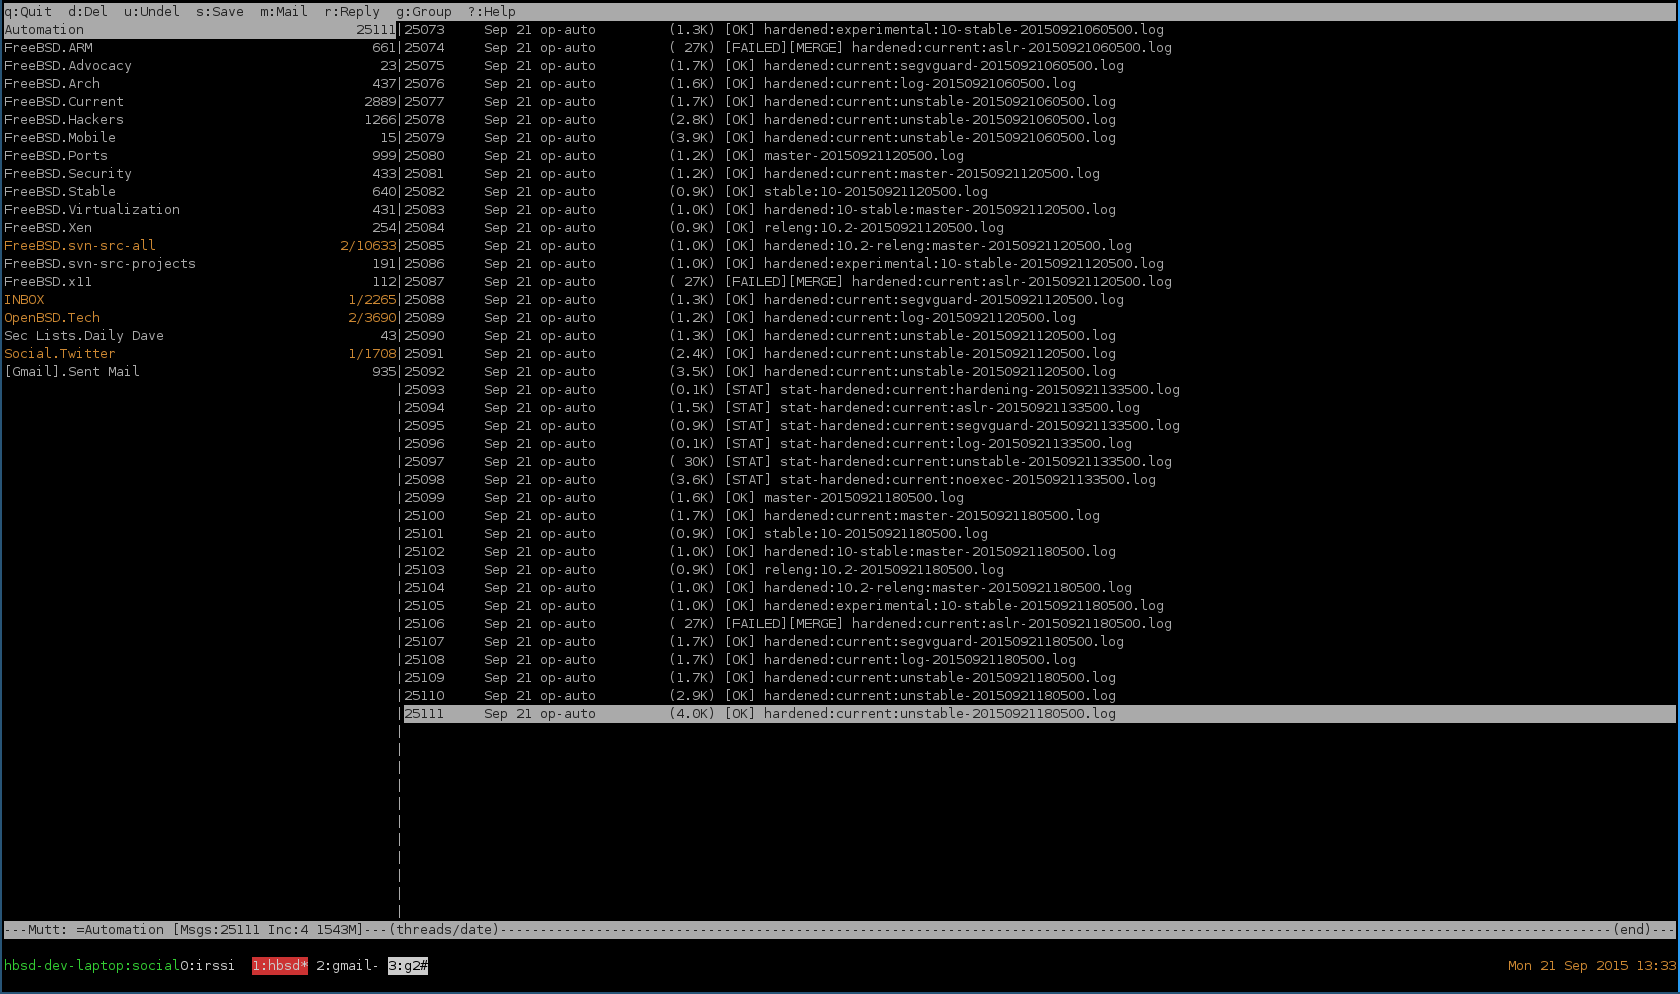
Now I have multiple distinct instances of mutt, each dealing with only on user account. I can use tmux on the host to simply create new windows where I’m ssh’d into the different mutt jails.
Here’s a screenshot of what it looks like: